
5. First-run setup wizard
Open the setup URL from the install banner. You'll hit a self-signed cert warning — accept it (see trust-the-cert.md if you want a real cert).
You'll land on the login page:
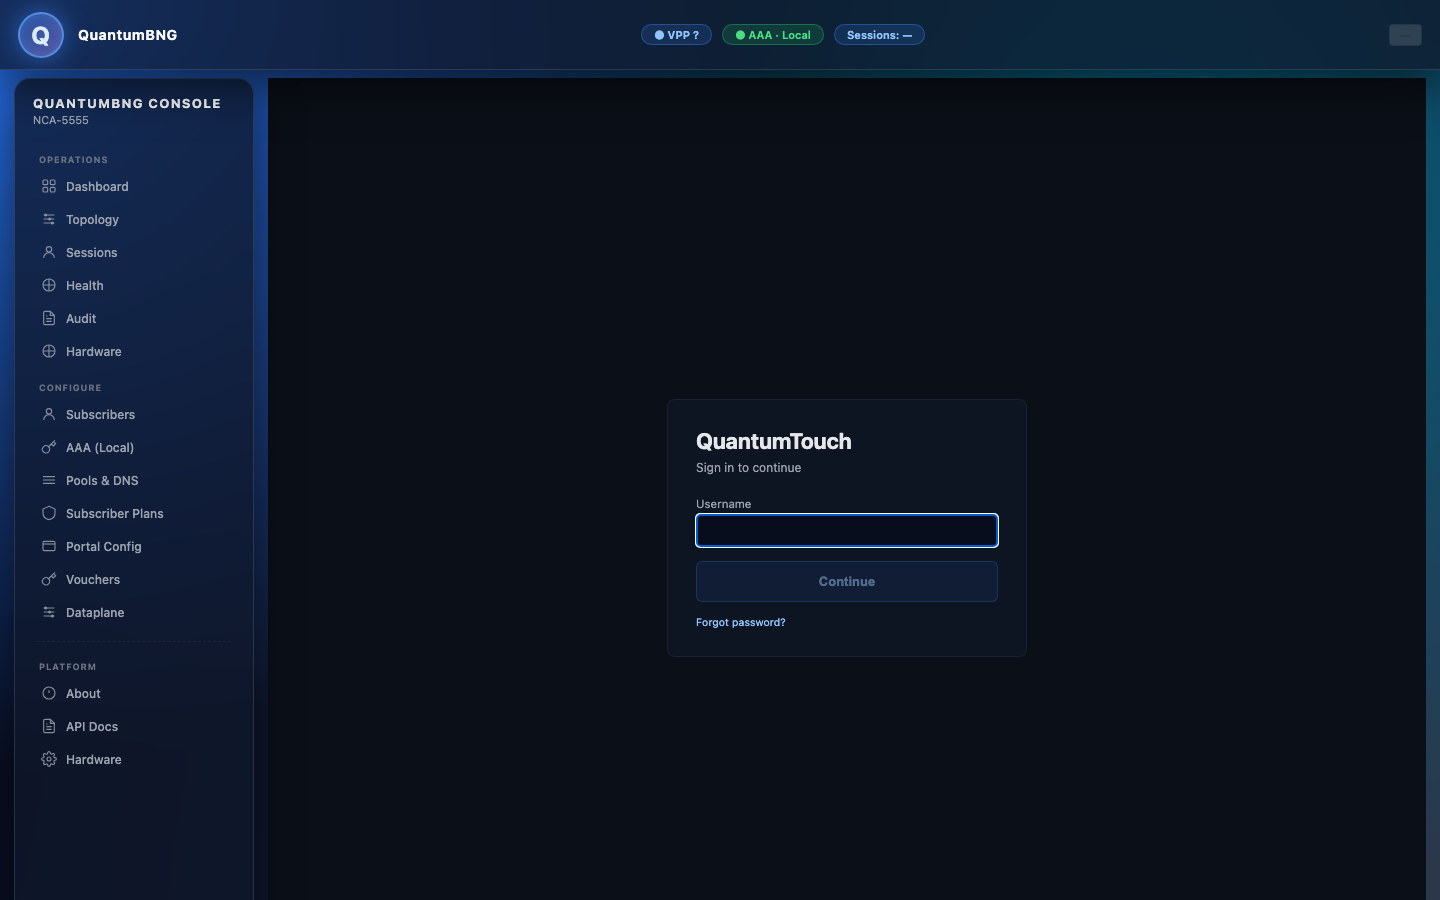
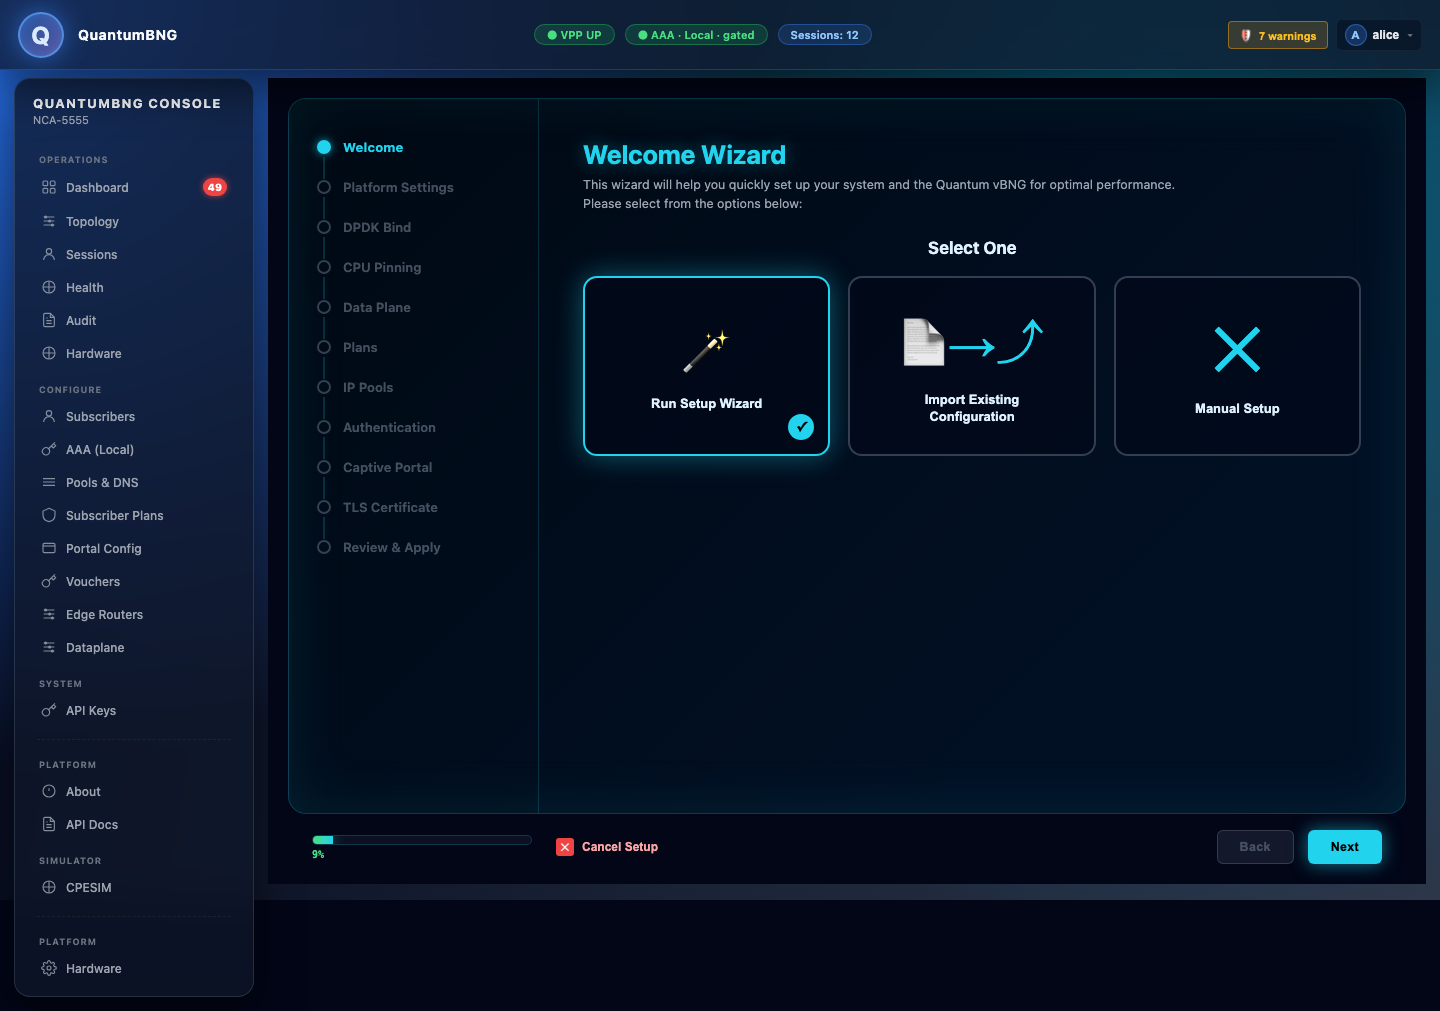
Log in as the bootstrap admin. The wizard's left rail shows all 11 steps; the progress bar at the bottom shows how much is left. The Next button is disabled until the current step's required fields are valid. You can close the tab mid-way and pick up where you left off — the wizard saves a draft locally.
Step 1 — Welcome
Pick which mode to run: Run Setup Wizard (guided, recommended for first install), Import Existing Configuration (restore a previously-saved wizard JSON), or Manual Setup (skip the wizard and configure from the individual pages).
Step 2 — Platform Settings
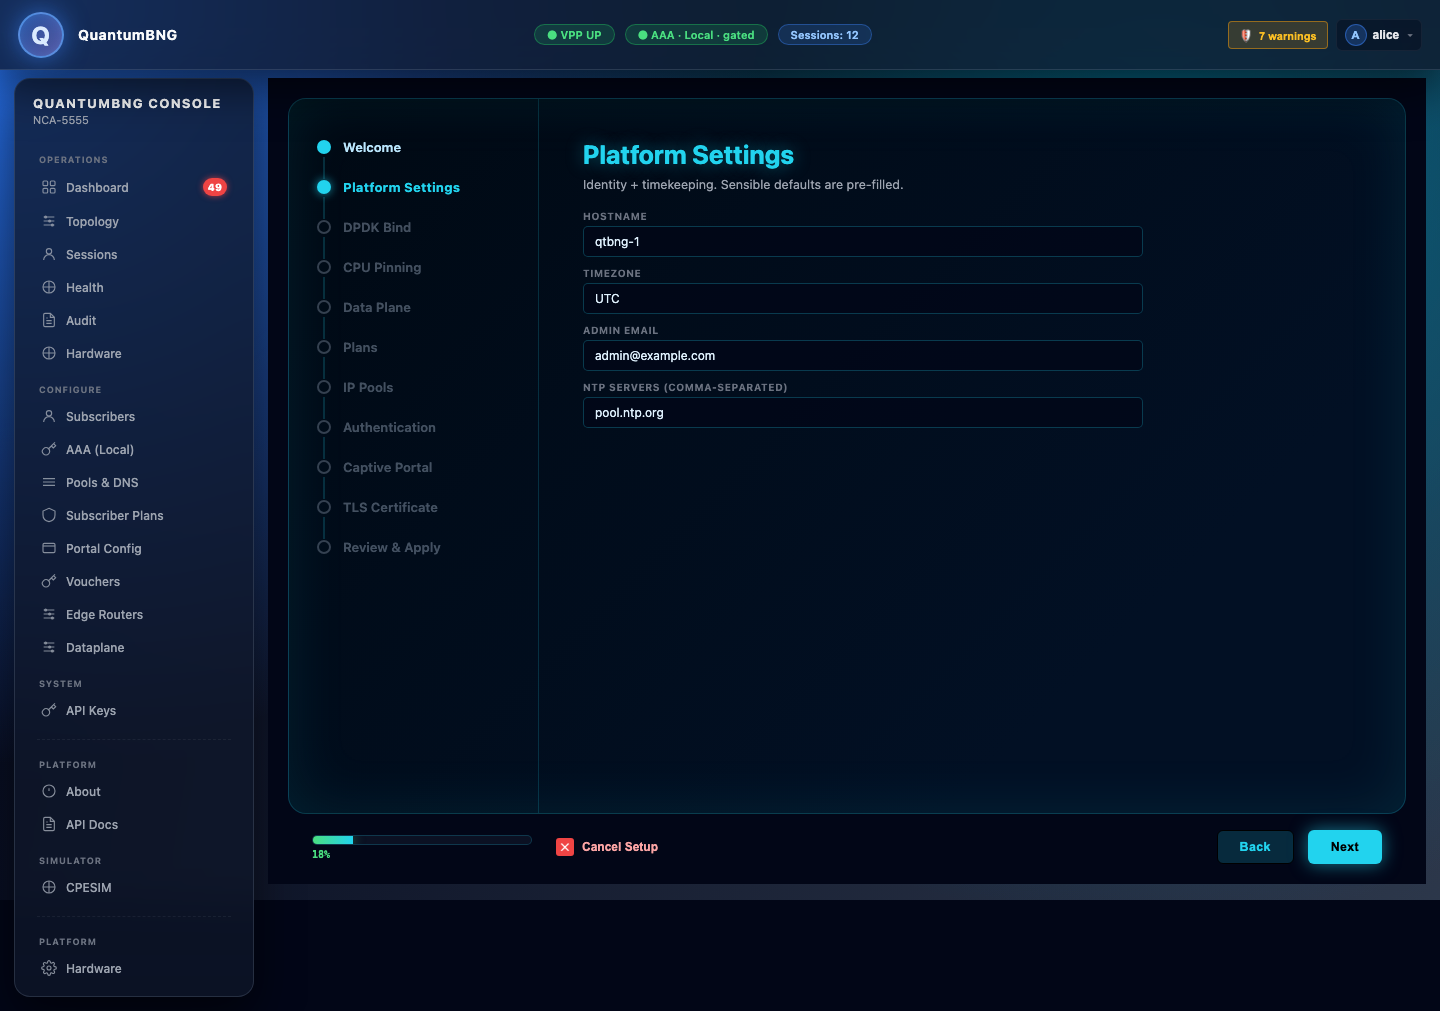
Hostname, timezone, NTP server, admin email. This is what the box will identify itself as in reports, log lines, and outgoing NTP client requests.
Step 3 — DPDK Bind
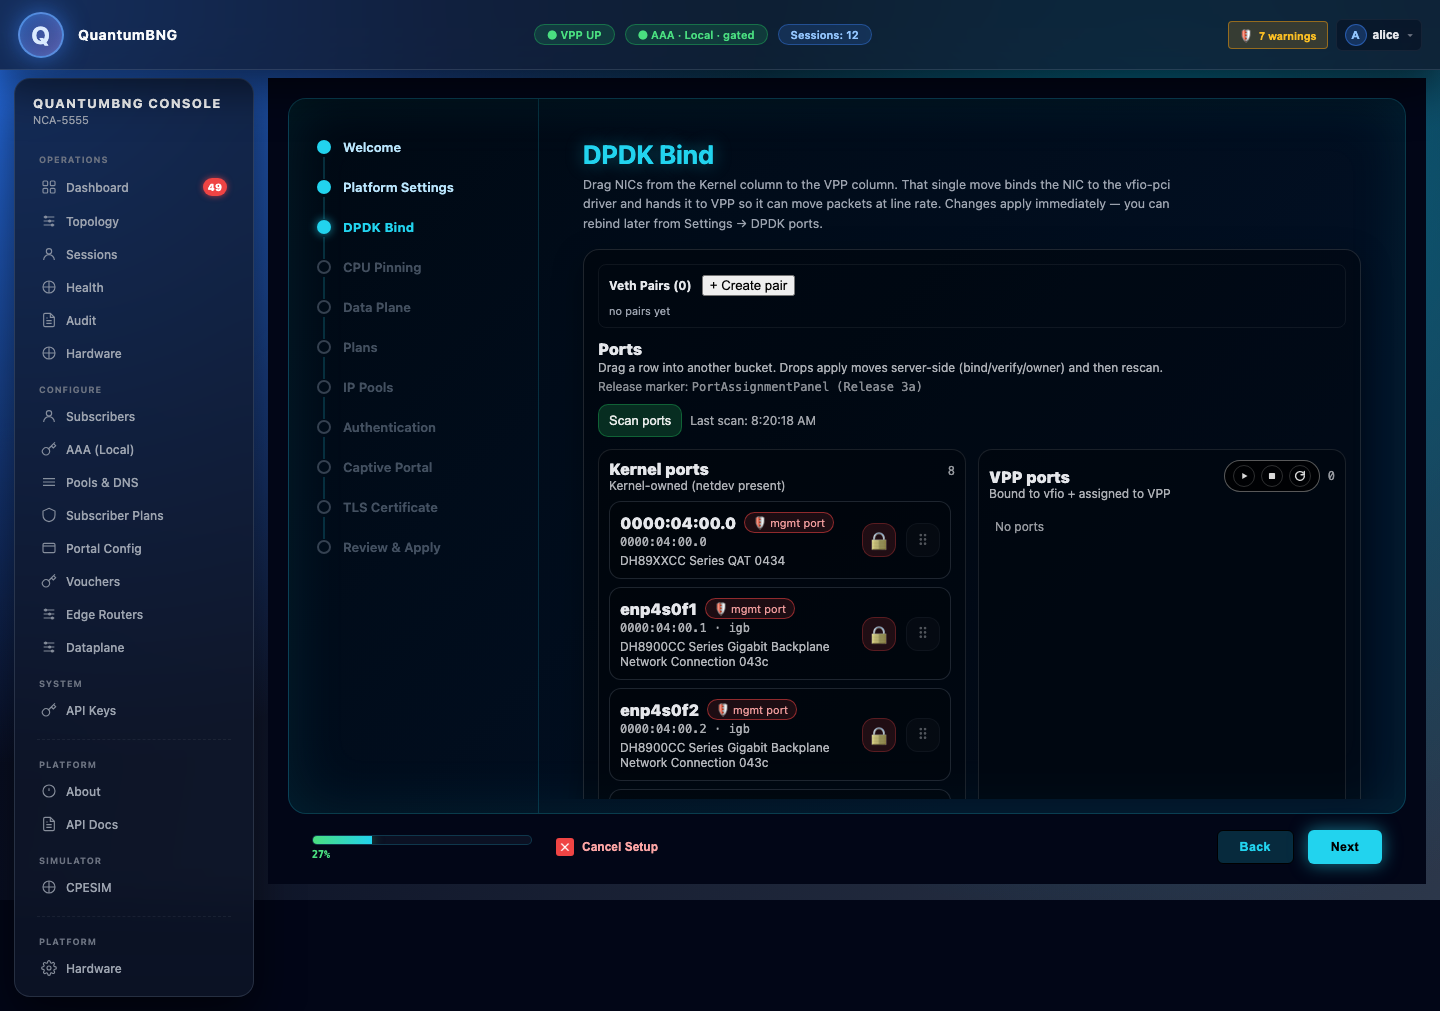
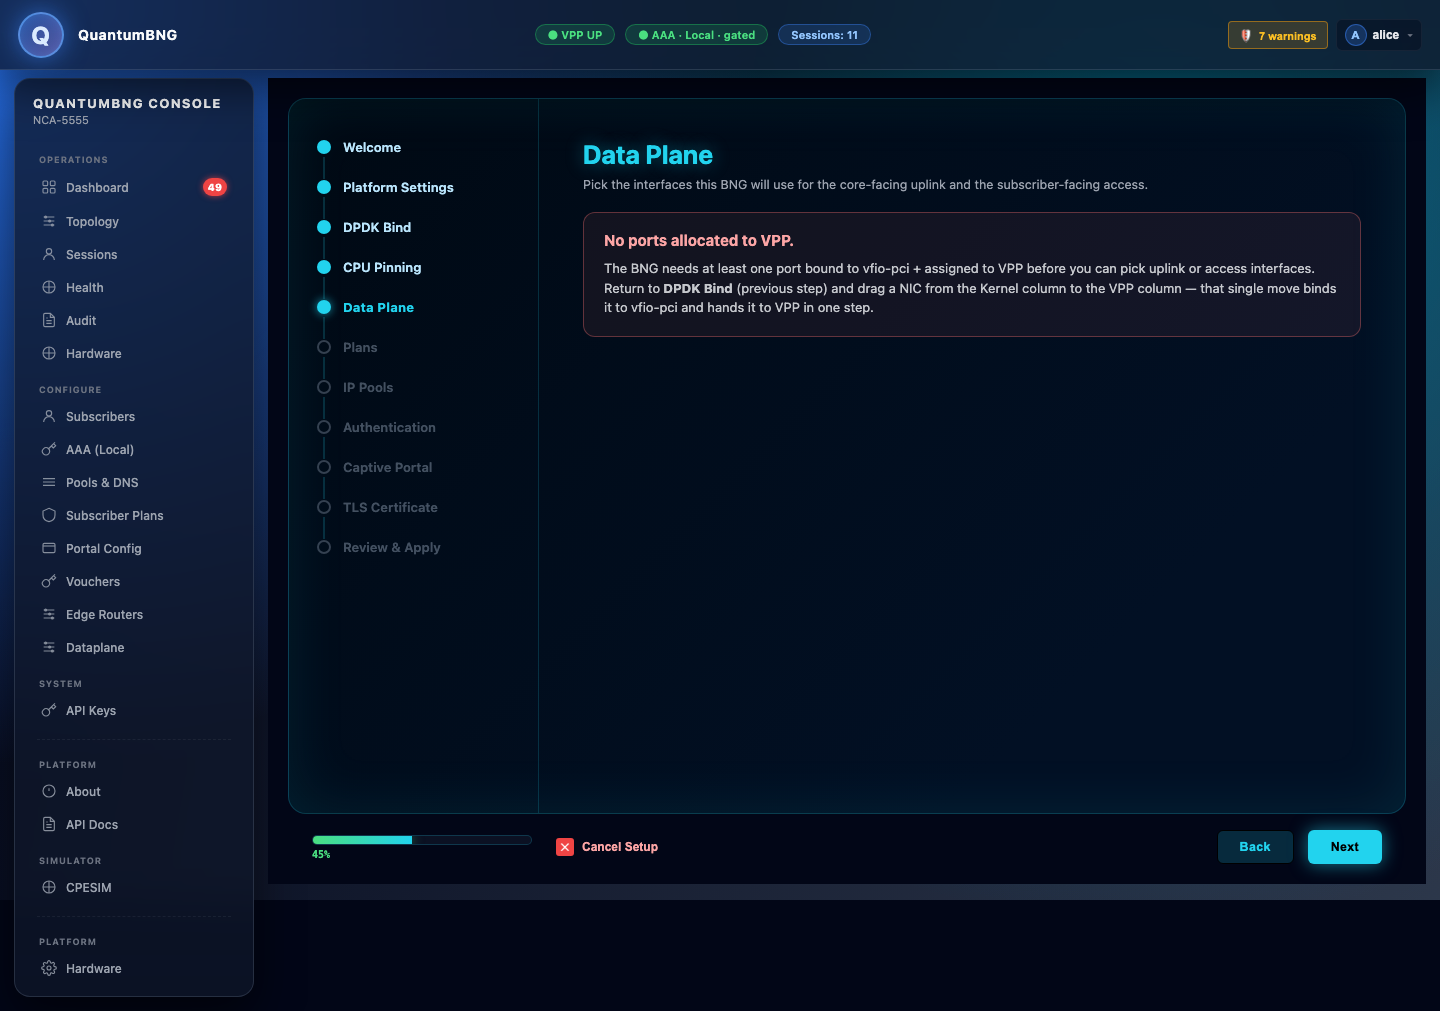
Drag NICs from the Kernel ports column to the VPP ports column. That single move binds the NIC to the vfio-pci driver and hands it to VPP so it can move packets at line rate. Keep your management NIC on the kernel side (it stays reachable). Only NICs on the VPP side become selectable in step 5.
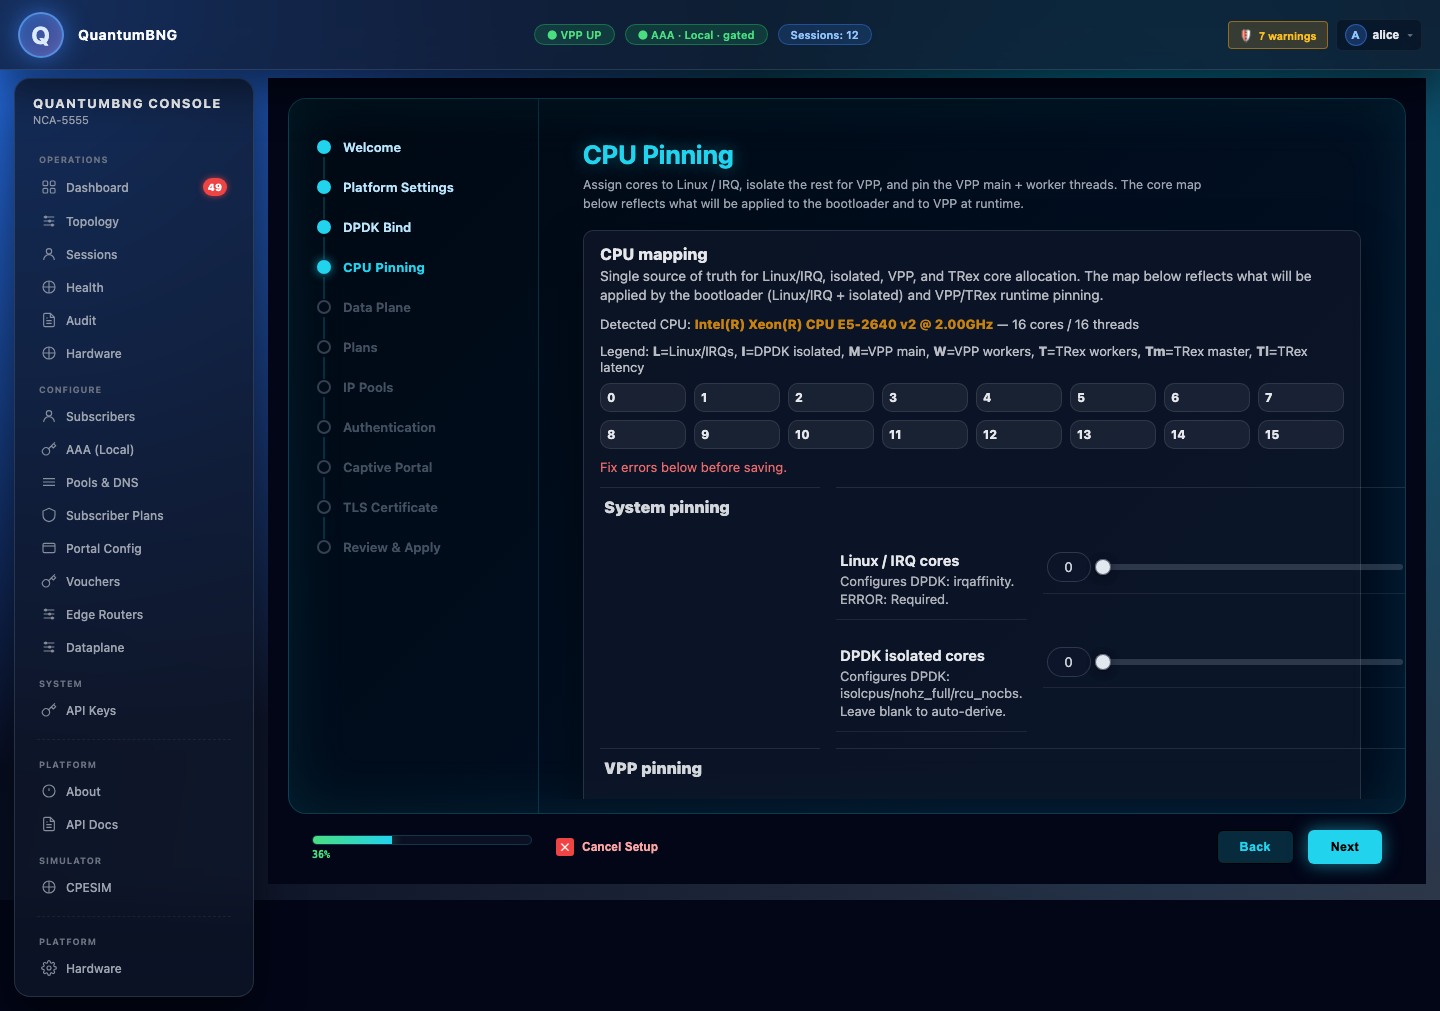
Step 4 — CPU Pinning
Choose how many cores are VPP workers and which physical CPUs they pin to. If you booted the kernel with isolcpus=, the wizard suggests those cores. Recommended: accept the default unless you know you want something different.
Step 5 — Data Plane
Pick one VPP interface as Uplink (WAN, toward your edge router) and one as Access (subscriber, toward the CPEs). The dropdowns only list interfaces you bound to DPDK in step 3.
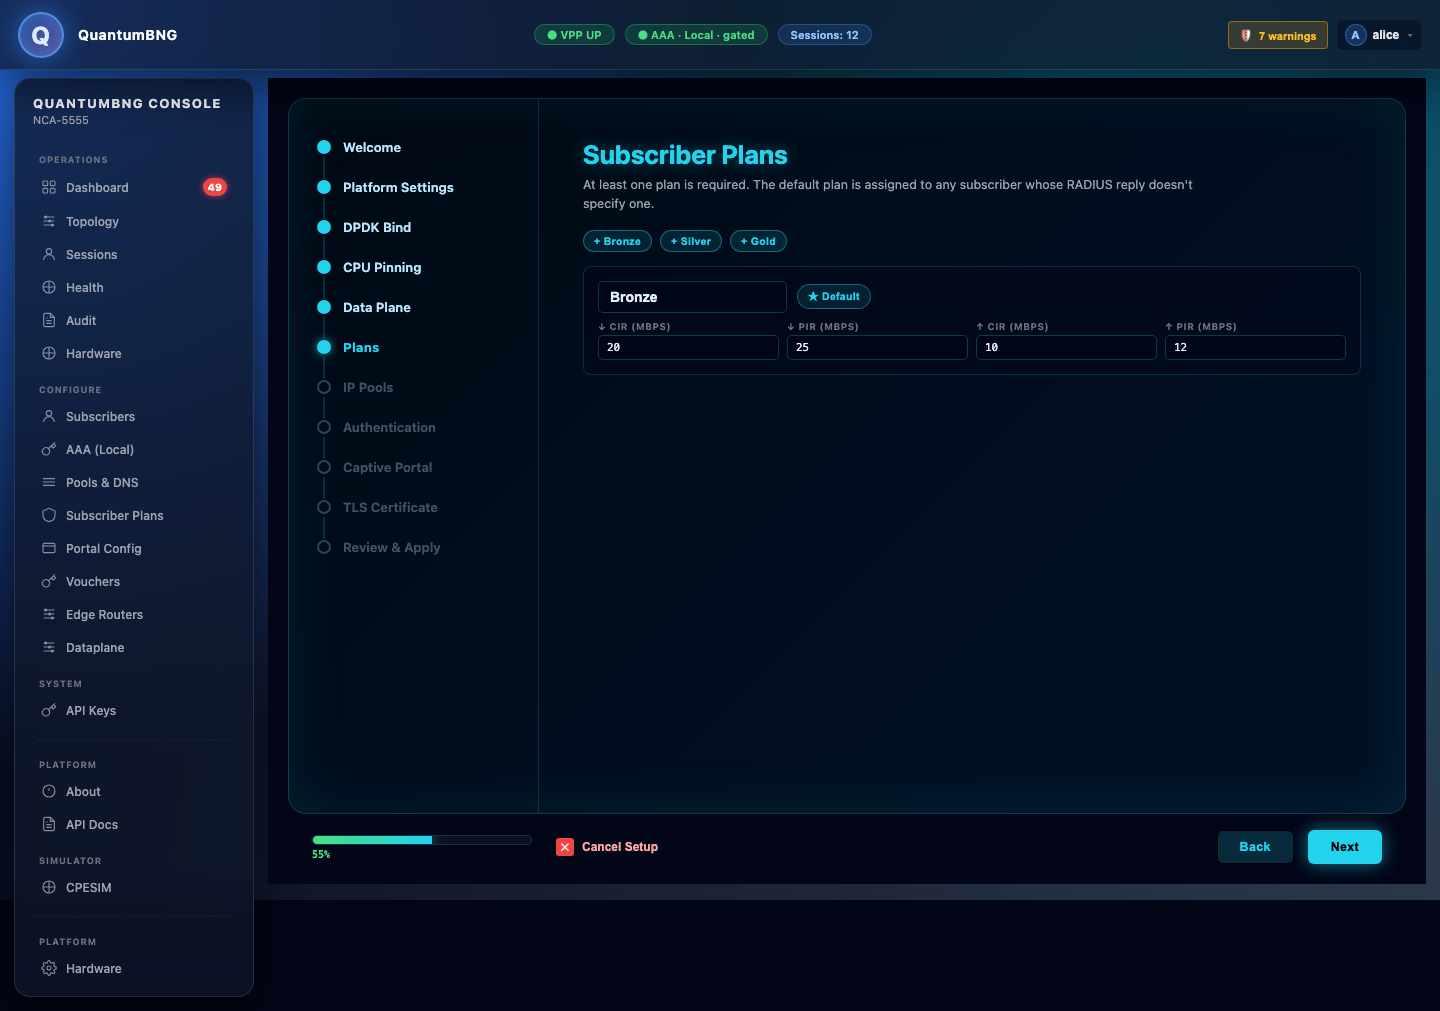
Step 6 — Plans
Define at least one rate plan. Each plan has committed (CIR) and peak (PIR) rates in both directions, all in kbps. Mark one plan as default — that's what a subscriber gets if AAA doesn't hand back an explicit plan name.
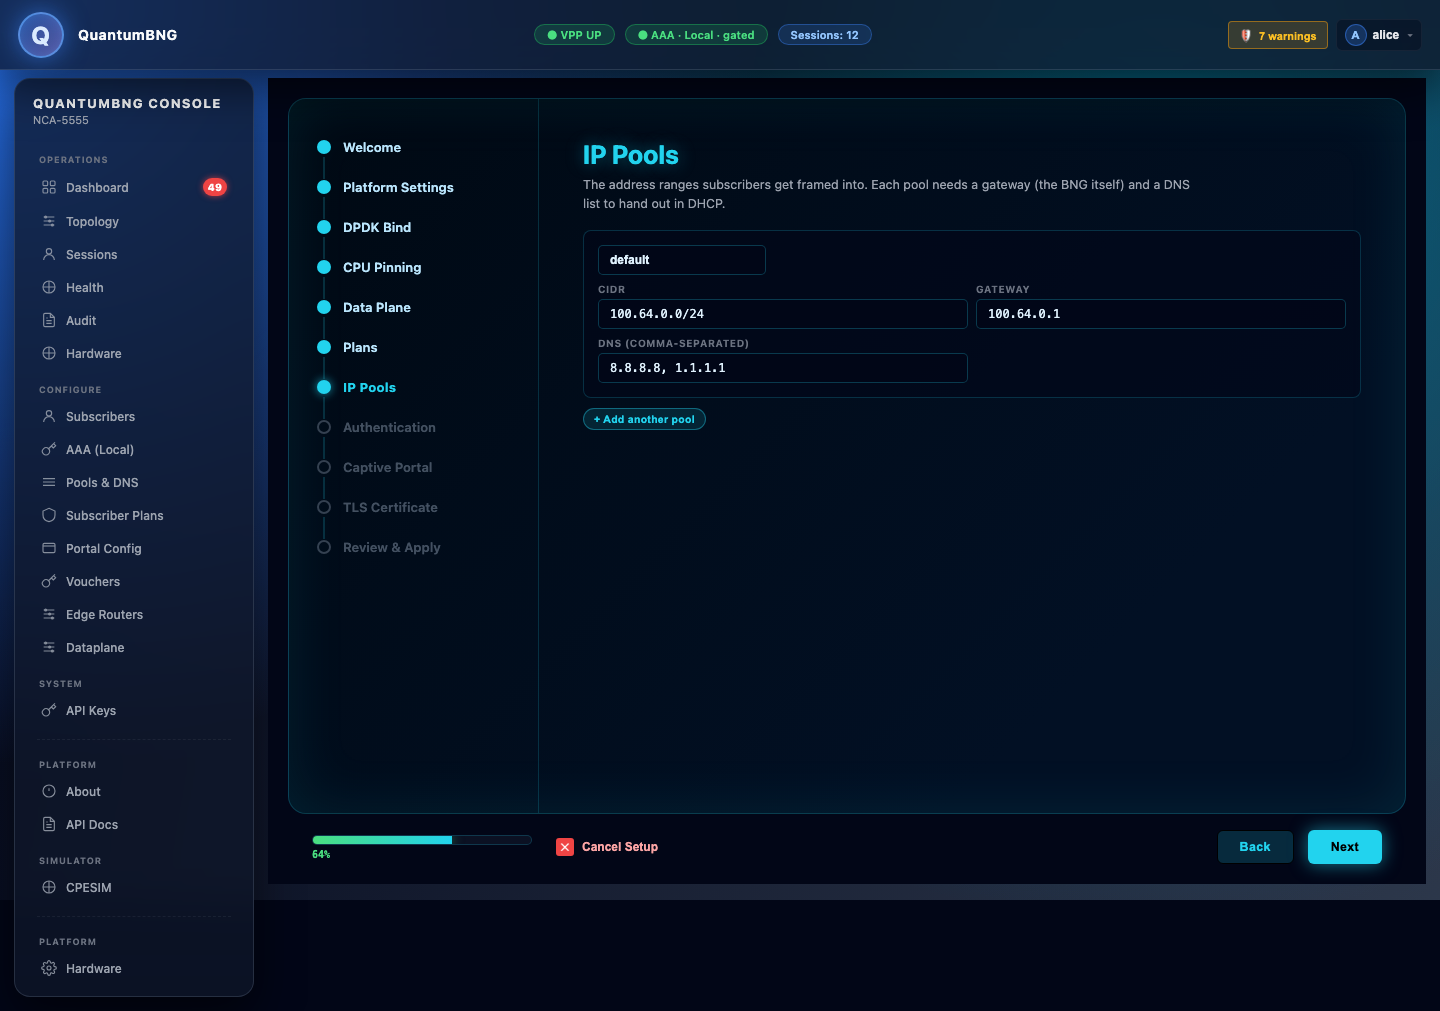
Step 7 — IP Pools
Define at least one DHCP pool. Each pool needs a CIDR (range), a Gateway (the BNG's own IP inside that range — usually .1), and a comma-separated DNS list to hand out as DHCP Option 6. Add more pools if you need per-plan or per-VLAN separation.
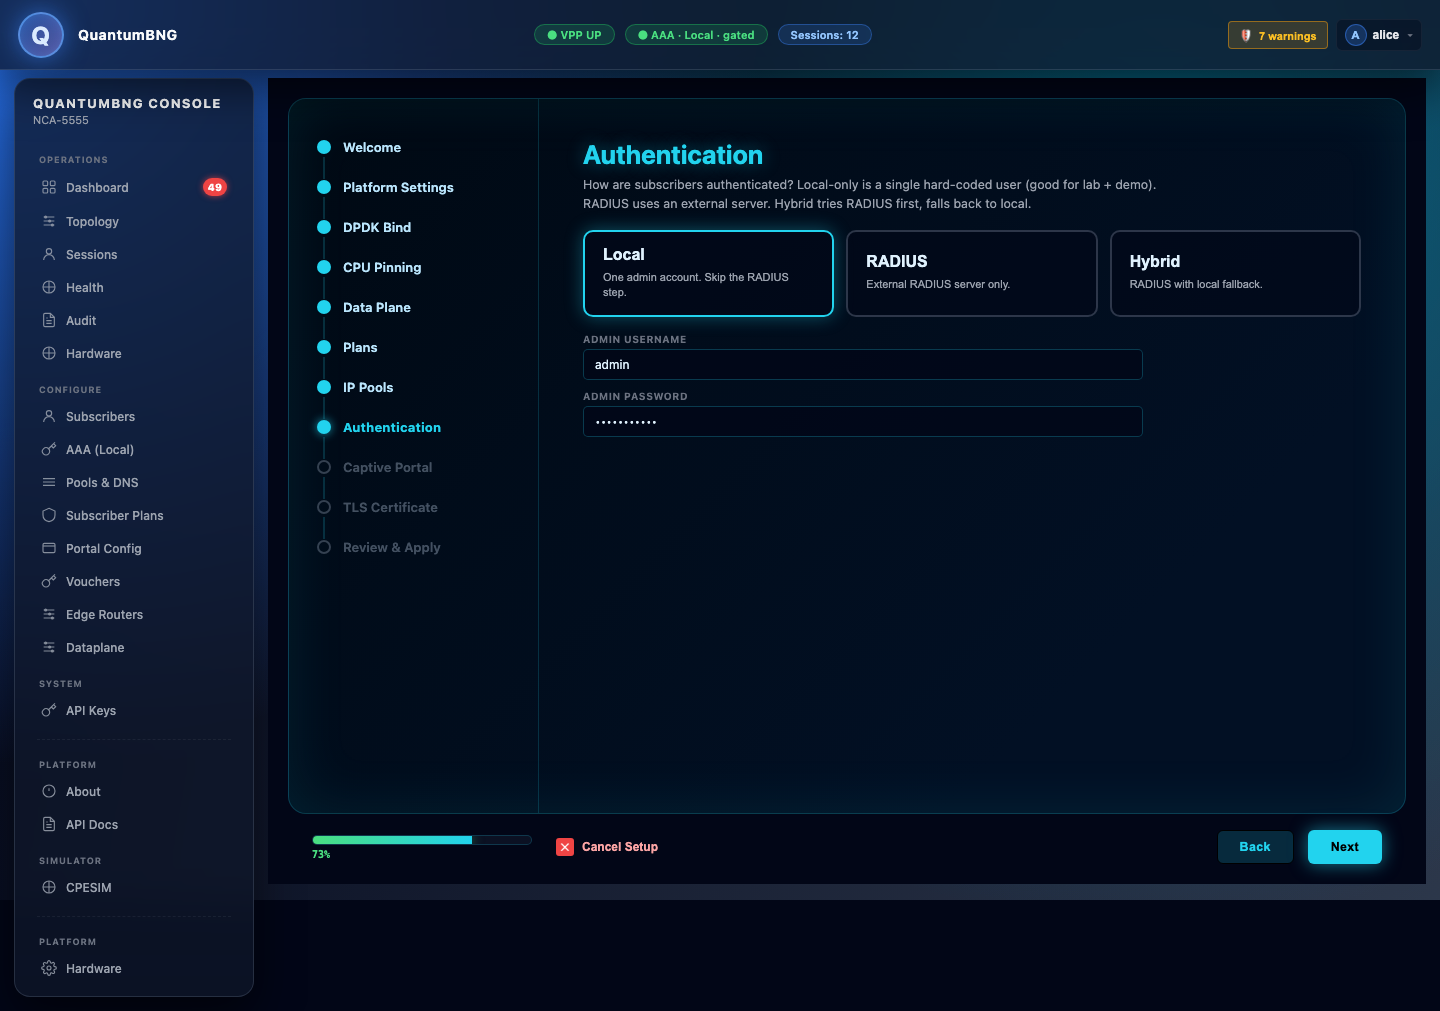
Step 8 — Authentication
Pick Local (one admin account, all subscribers auto-admitted — fine for a lab or single-site demo), RADIUS (external RADIUS server only), or Hybrid (RADIUS with local fallback). If you pick RADIUS or Hybrid, the wizard inserts an extra RADIUS-server step here (host, port, shared secret) before continuing. Under Local, fill in the admin username and password you'll log in with going forward.
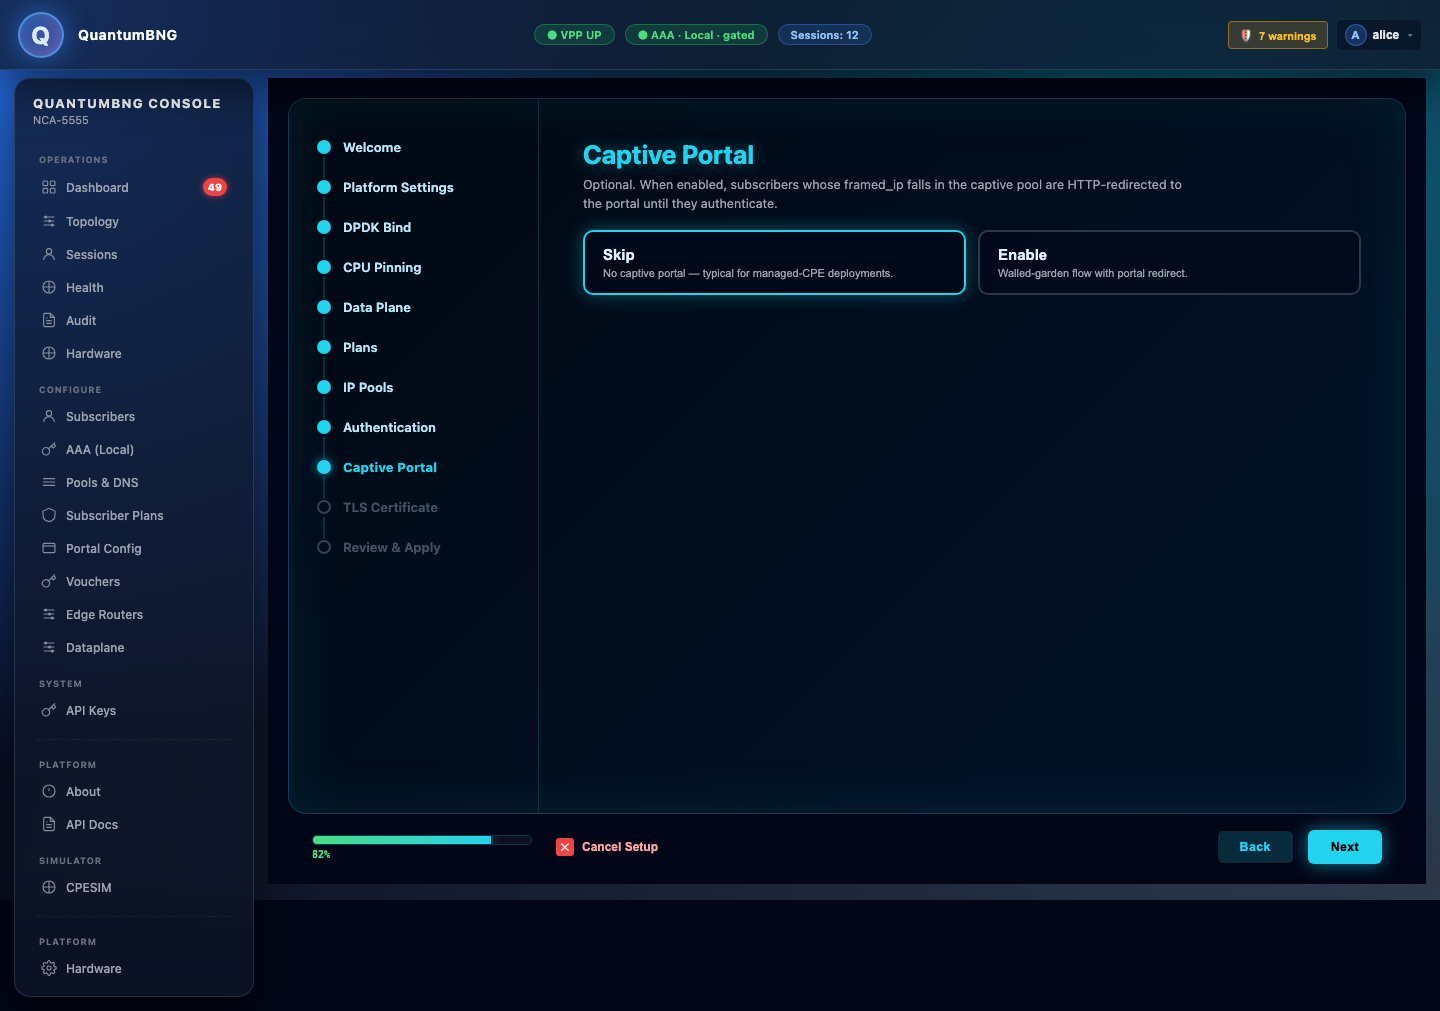
Step 9 — Captive Portal (optional)
Enable this only if you're running gated admission — i.e., unauthenticated subscribers should land on a captive portal before getting Internet. Provide the portal IP and a separate CIDR for captive-state sessions. Skip if you're running open admission.
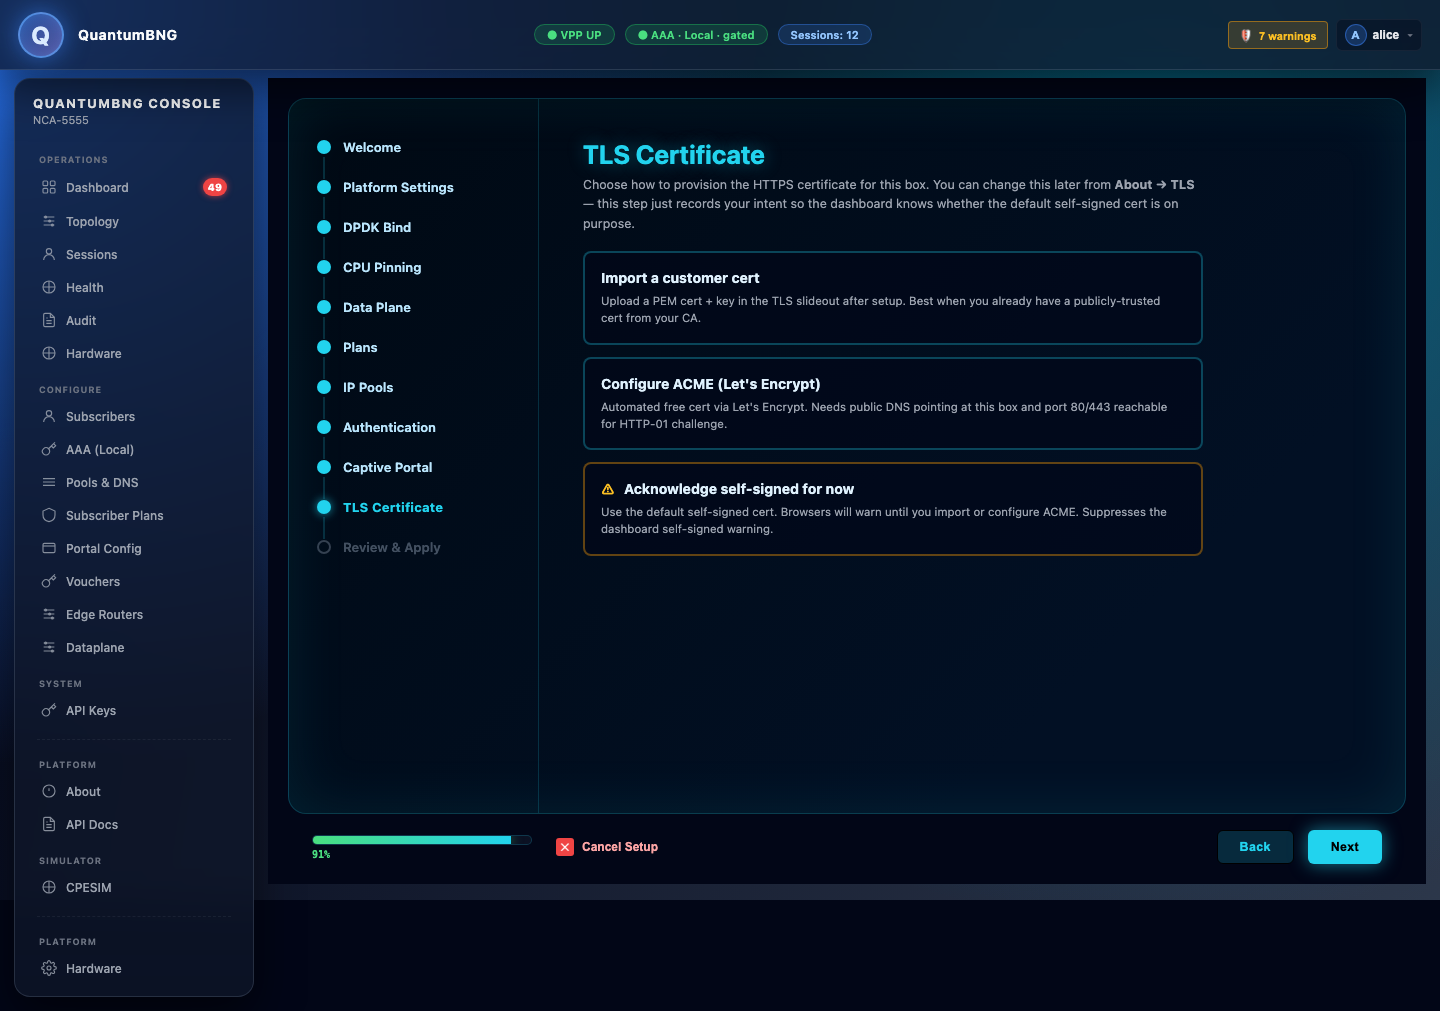
Step 10 — TLS Certificate
The webui is served over HTTPS on port 8443. The install already generated a self-signed cert; upload a real cert here if you have one, or leave it as-is and address it later via letsencrypt-on-bng.md.
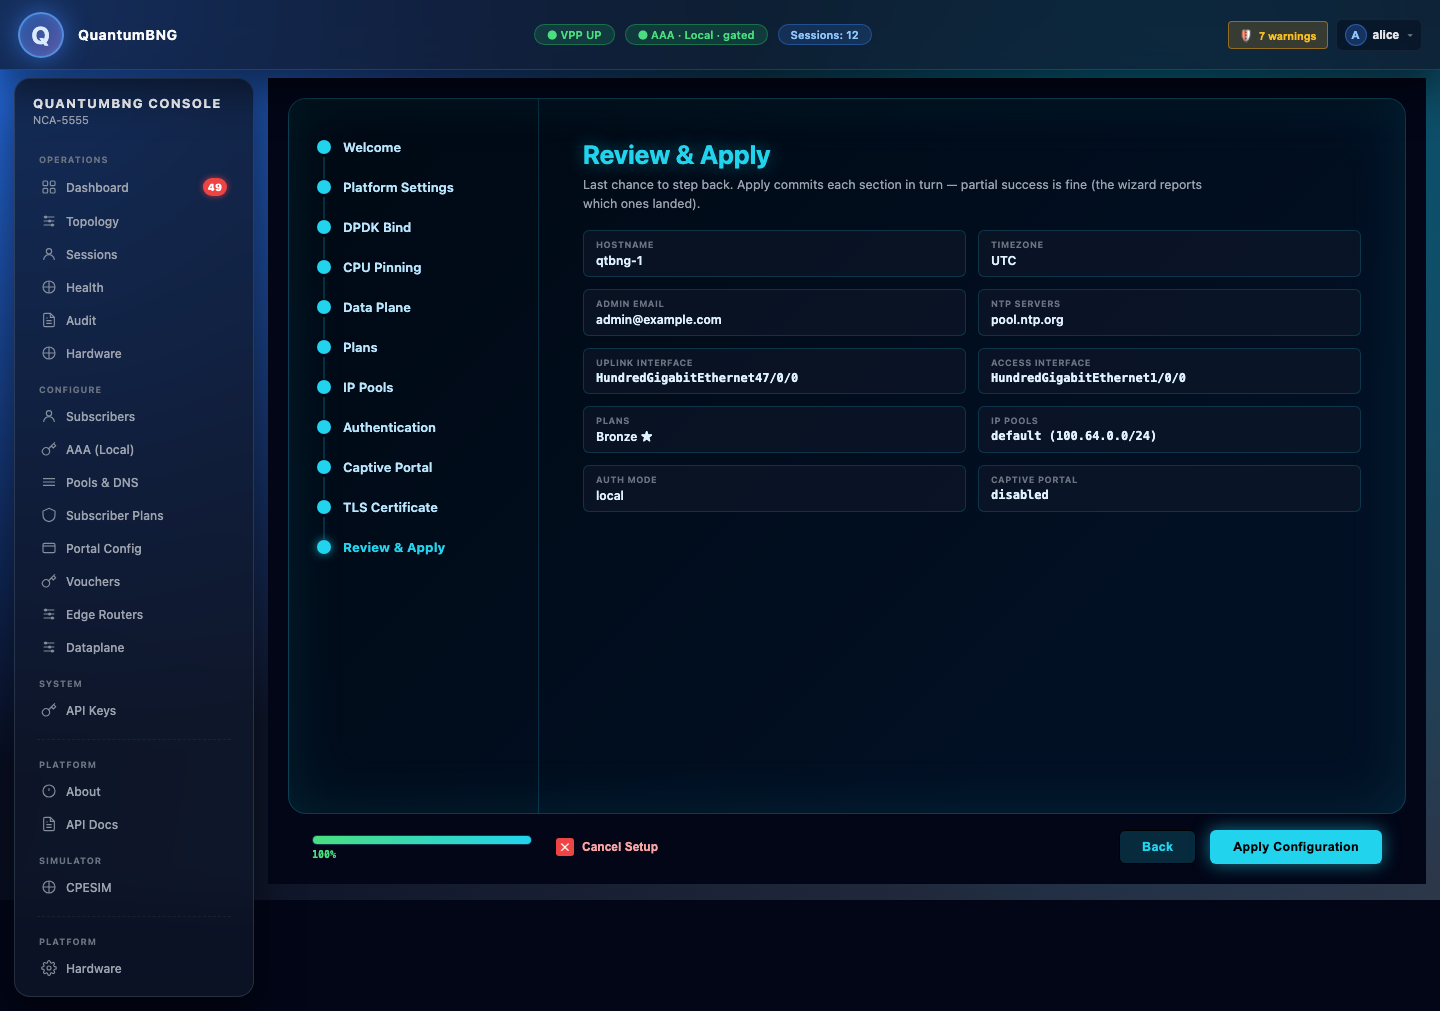
Step 11 — Review & Apply
Full summary of everything the wizard is about to commit. Read each row — this is the last chance to step back. Click Apply Configuration and the wizard commits each section in turn; partial success is fine (the wizard reports which sections landed and which didn't).
After the wizard, you're on the main dashboard:
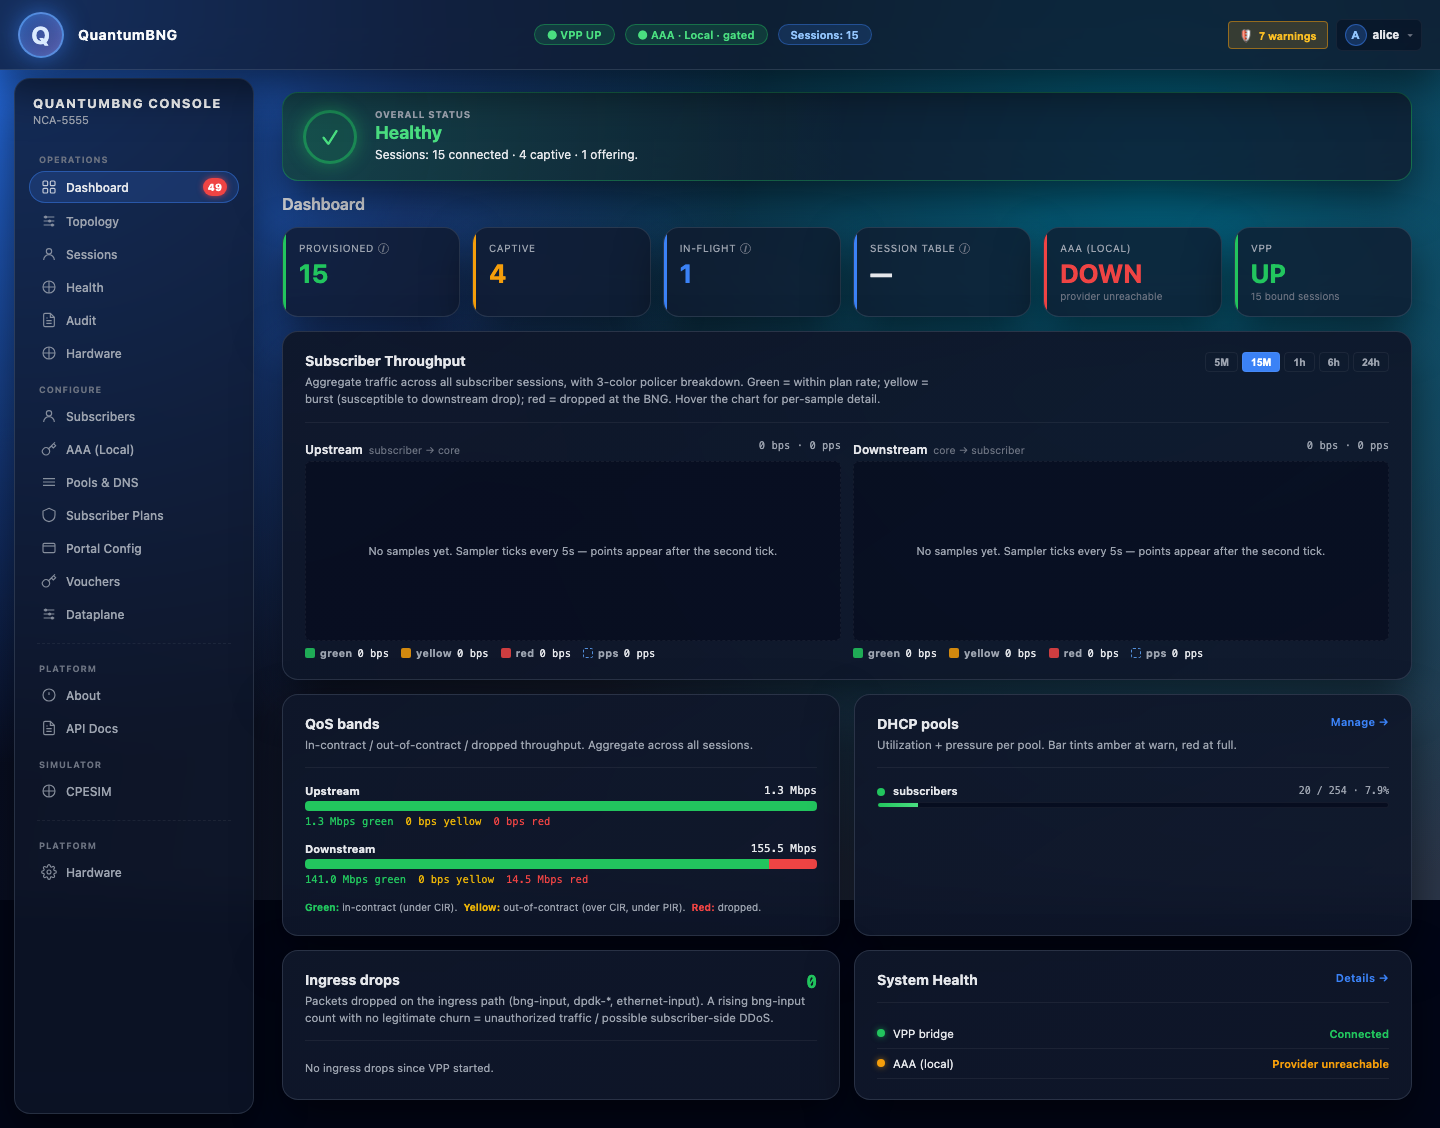
The header pills (VPP / AAA / Sessions) are your live health snapshot. If VPP is UP, AAA is Local · gated (or open), and Sessions is a number (even zero), the box is ready to serve subscribers.